必要な情報の取得
1. 必要な情報
- espar form のアカウント
- フォーム ID
- API キー
- 埋め込みコード
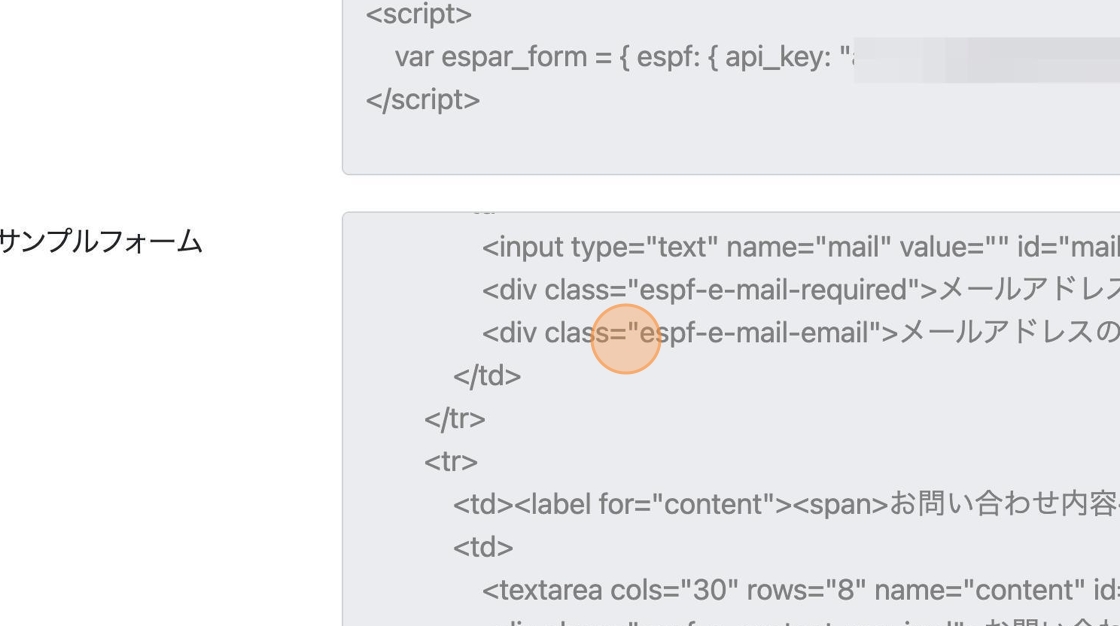
- フォーム のコード
espar form のアカウント の取得
2. https://www.feedtailor.jp/product_espar-form/ にアクセスし、取得してください
フォーム ID, API キー, 埋め込みコード, フォームのコードの取得
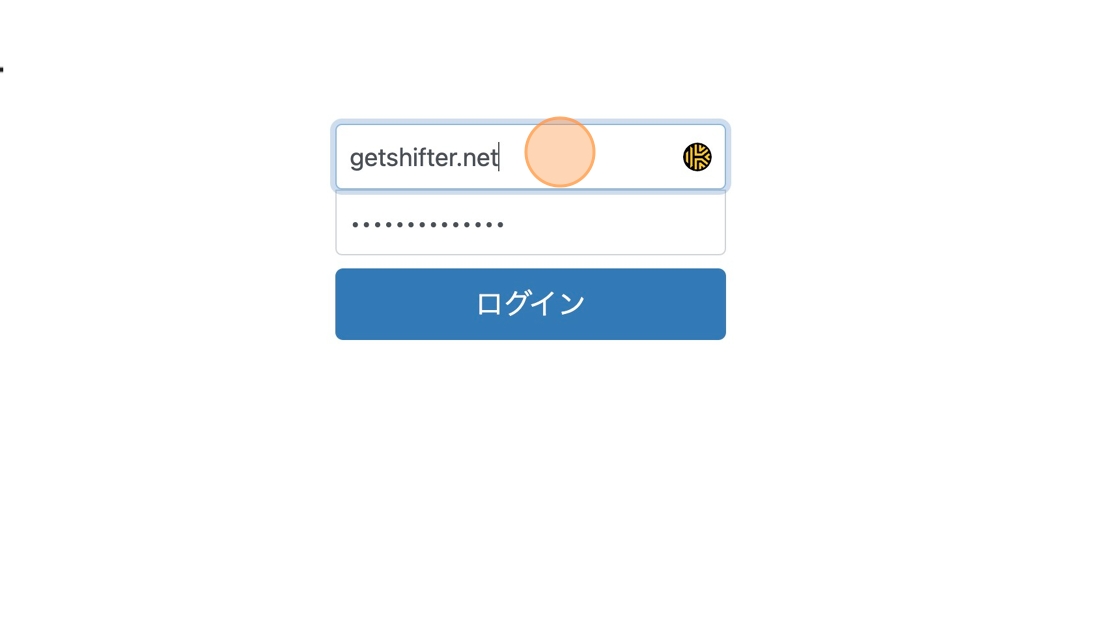
3. espar form のダッシュボードにアクセスをします
4. ログイン情報を入力します
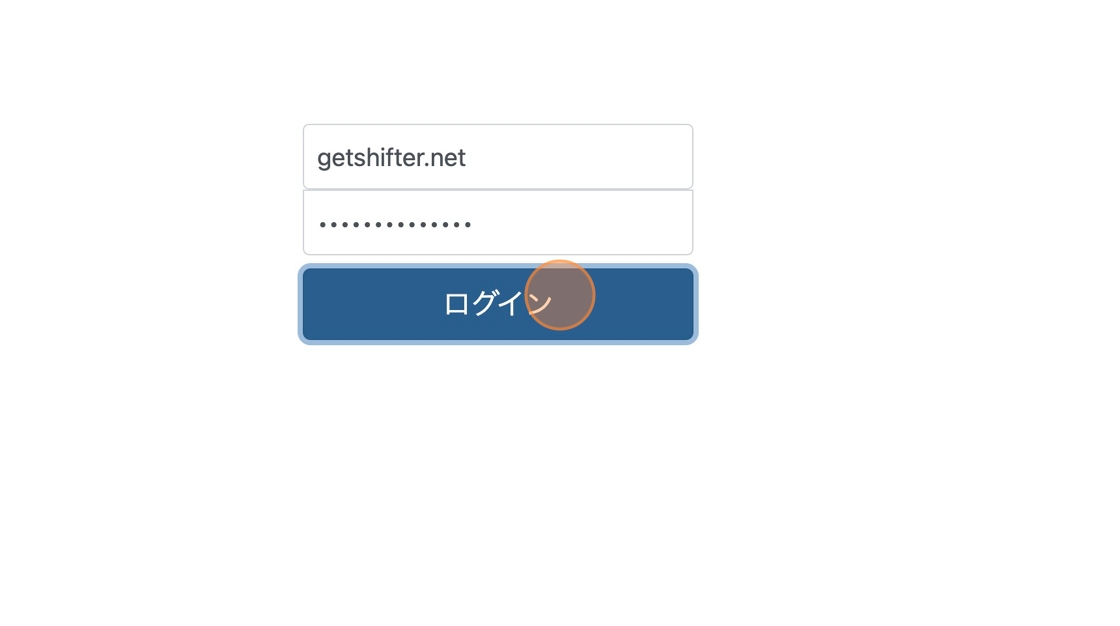
5. ログインををします
基本情報の設定
6. “フォーム名”を設定します

7. “埋め込みコード” をコピーします
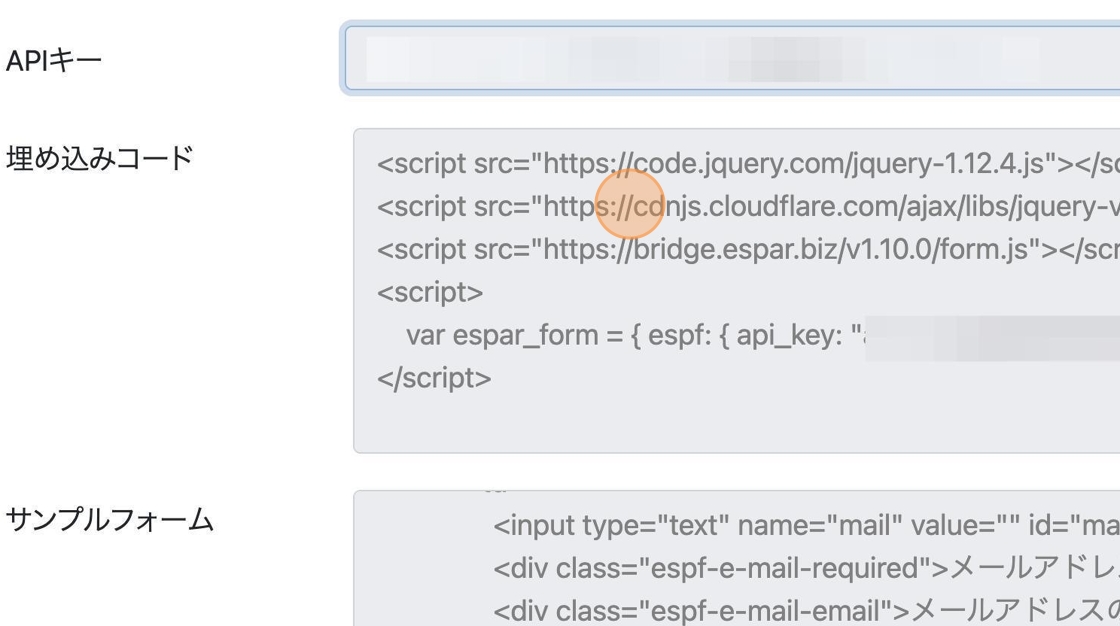
8. “サンプルフォーム”のコードをコピーします
Tip: コピーした内容はテキストエディタなど控えておいてください
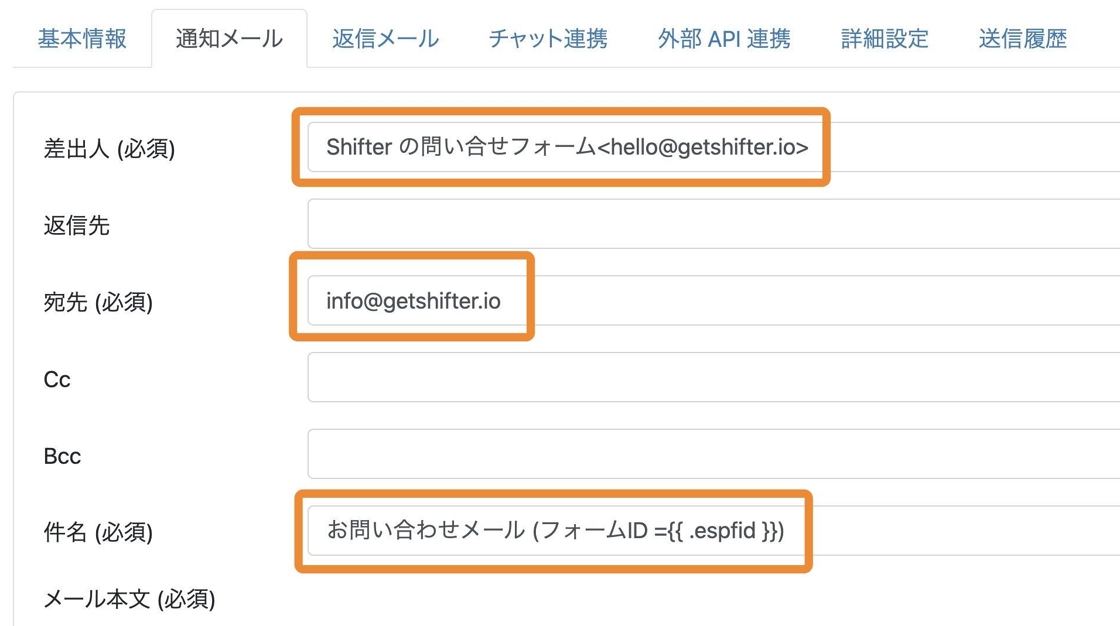
通知メールの設定
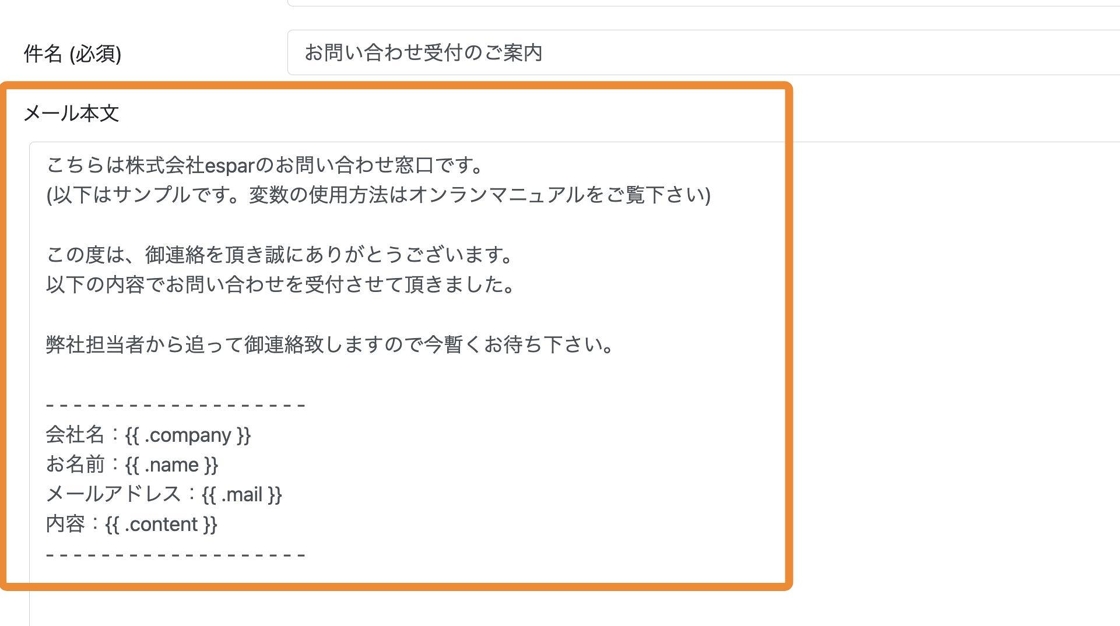
9. 差出人、宛先、件名を設定します
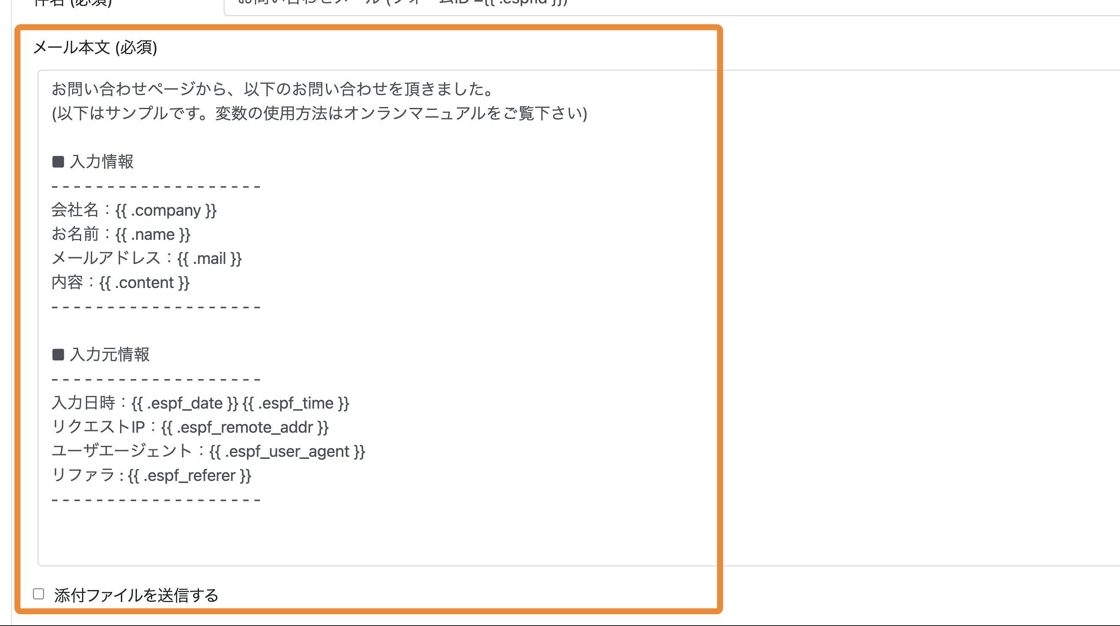
10. メール本文を設定します
注意事項
この時、フォームの各項目のlabel と設定値とあわせる必要があります。
詳細はメールテンプレート | espar form DOCSを参照してください。
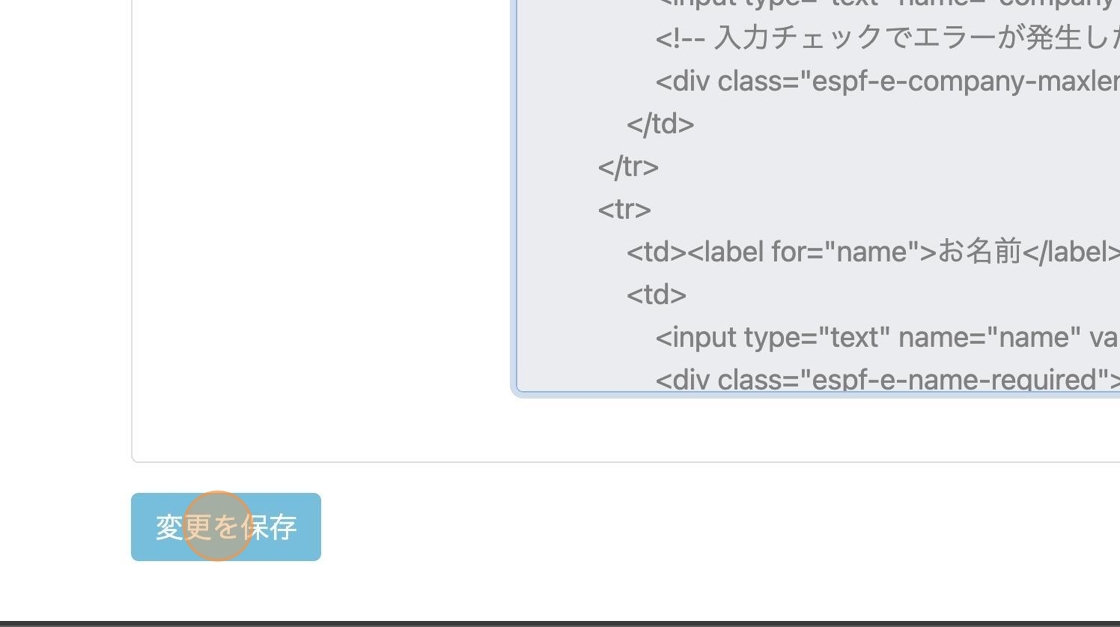
11. 設定が終わったら “変更を保存” ボタンをクリックして保存をします
返信メールの設定
12. 問い合わせをした方への自動返信メールを設定します。\
利用する場合は「返信メールを送信する」にチェックを入れた上で以下を設定してください。
- 差出人
- 宛先
- 件名
- メール本文
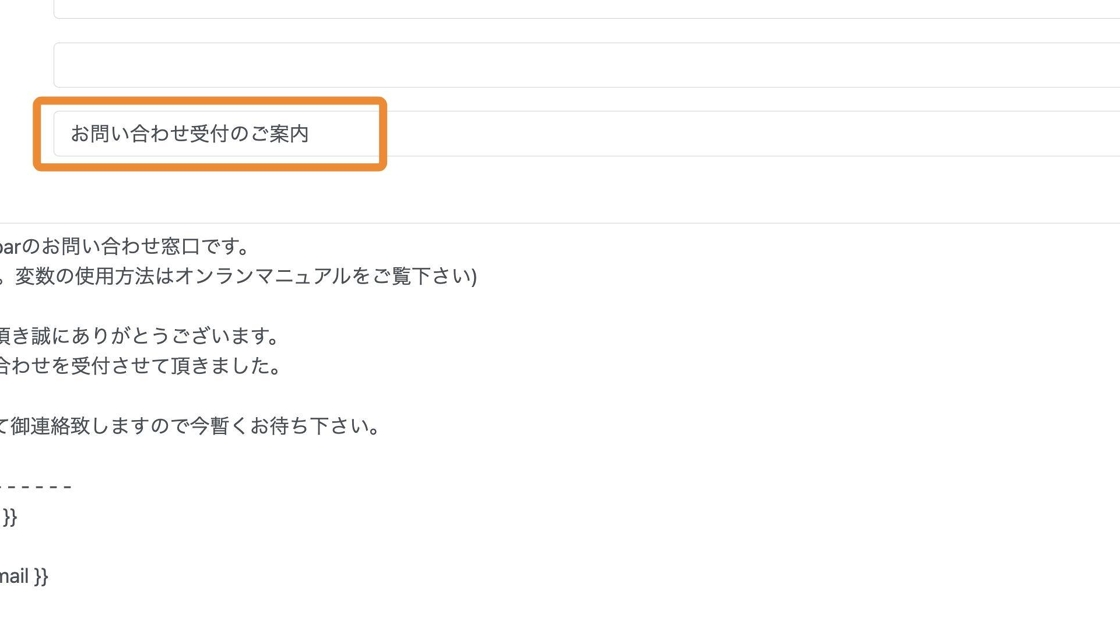
13. メール本文をカスタマイズします
14. 設定が終わったら “変更を保存” ボタンをクリックして保存をします

詳細設定
許可する送信元ホスト
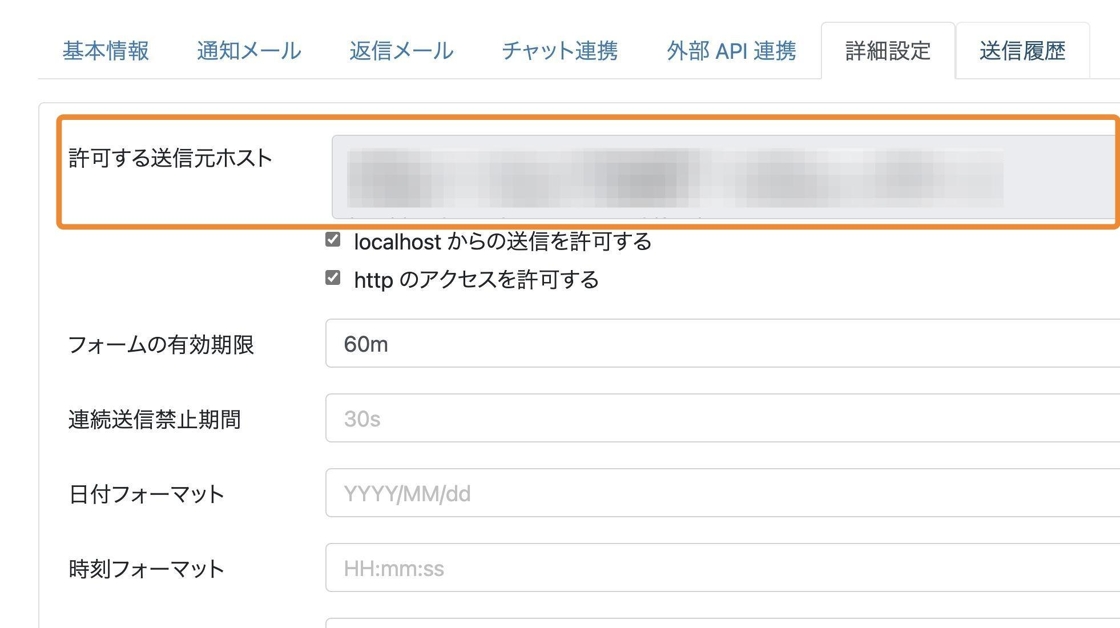
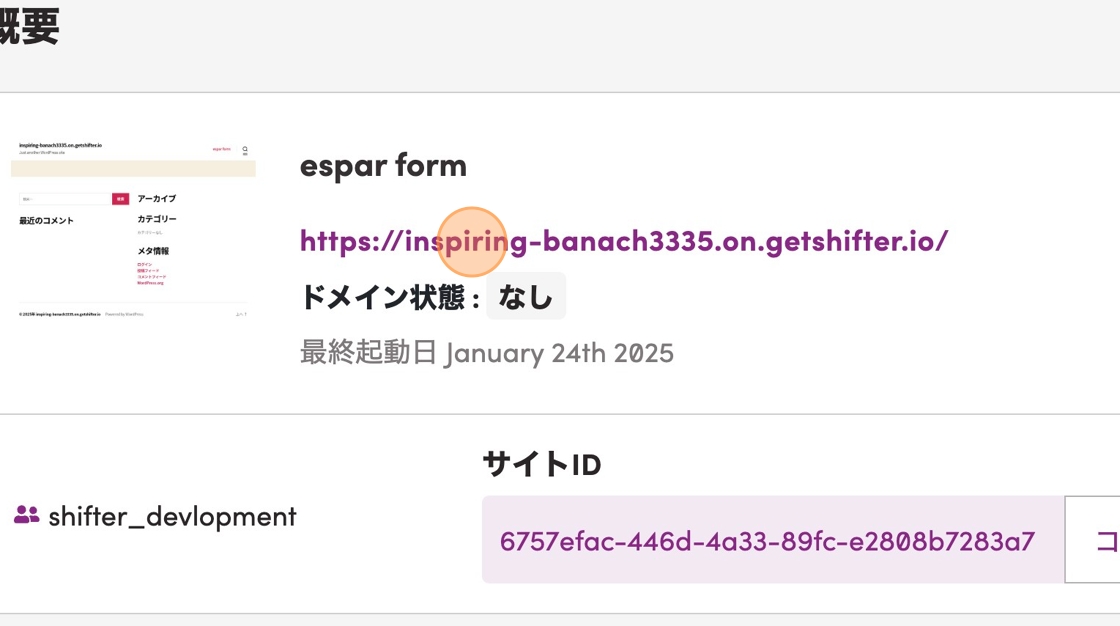
15. フォームを実際に設置するサイトのホスト名を設定します。あらかじめ Shifter ダッシュボードで確認し、控えてください。
- 概要に表示されている
.on.getshifter.ioで終わる文字列 ( 例:abc123.on.getshifter.io) - カスタムドメイン名 (例:
example.com,www.example.com) - CloudFront URL (
def456.cloudfront.net)
加えて、WordPress の起動中に送信テストをする場合はWordPress のホスト名も控えてください。
例: ghi789.static.getshifter.io
16. 手順15で控えたホスト名の一覧を開発元にメール等で連絡し、追加申請して下さい
espar form のダッシュボードでの設定は以上です。
WordPress の起動とフォームの挿入
17. Shifter ダッシュボードにログインをします
18. WordPress を起動します
19. “固定ページ”に設定を追加します
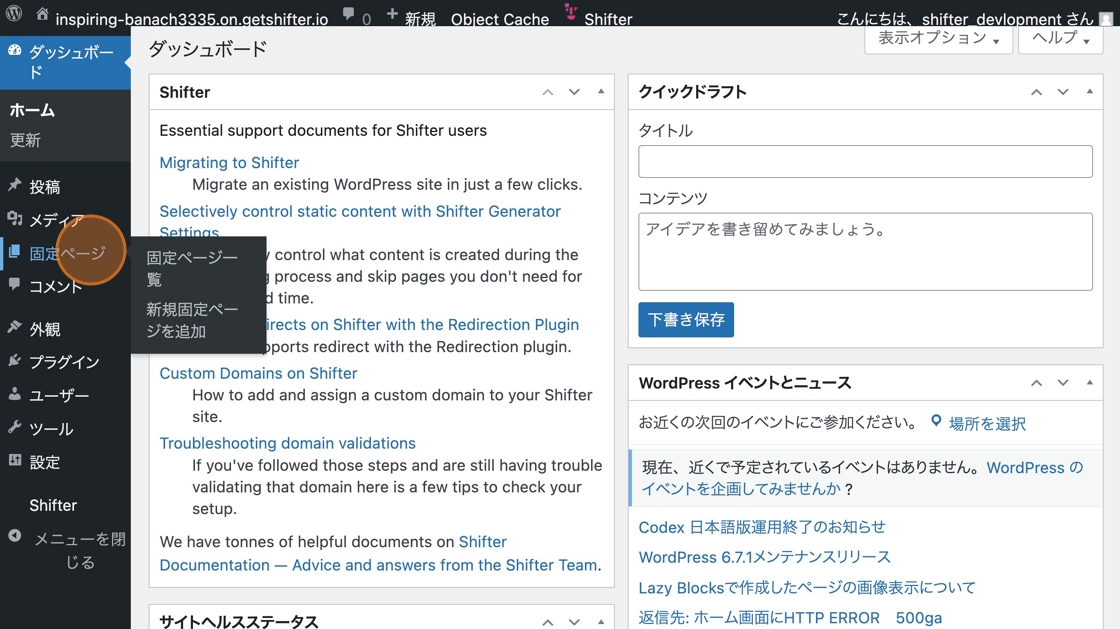
20. 固定ページ→ 新規固定ページを追加”をクリックします
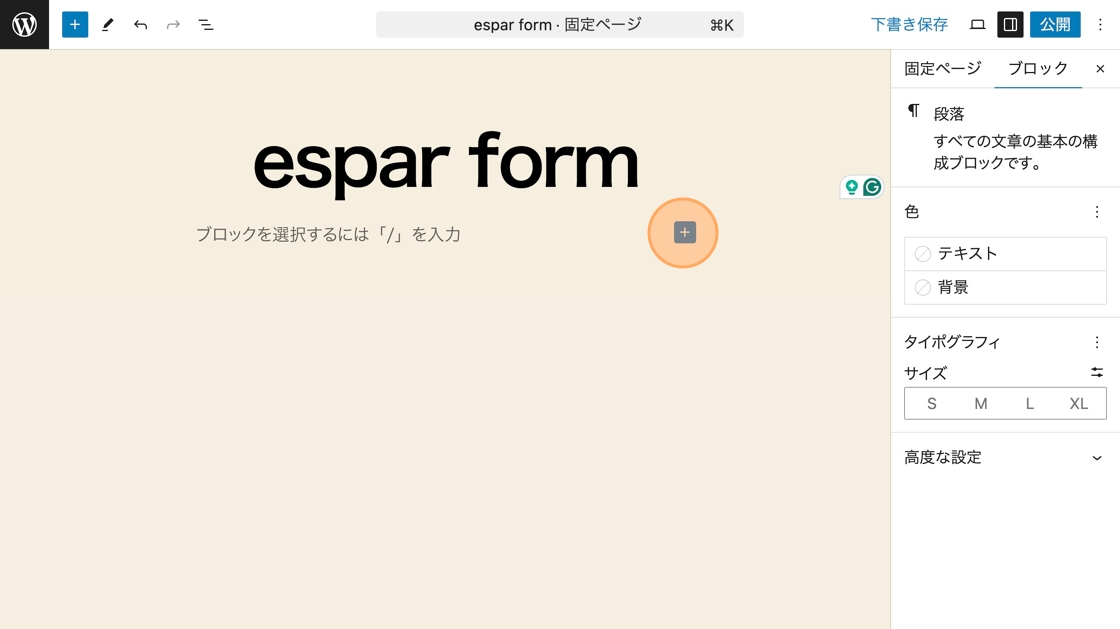
21. ブロックの一覧を表示させます
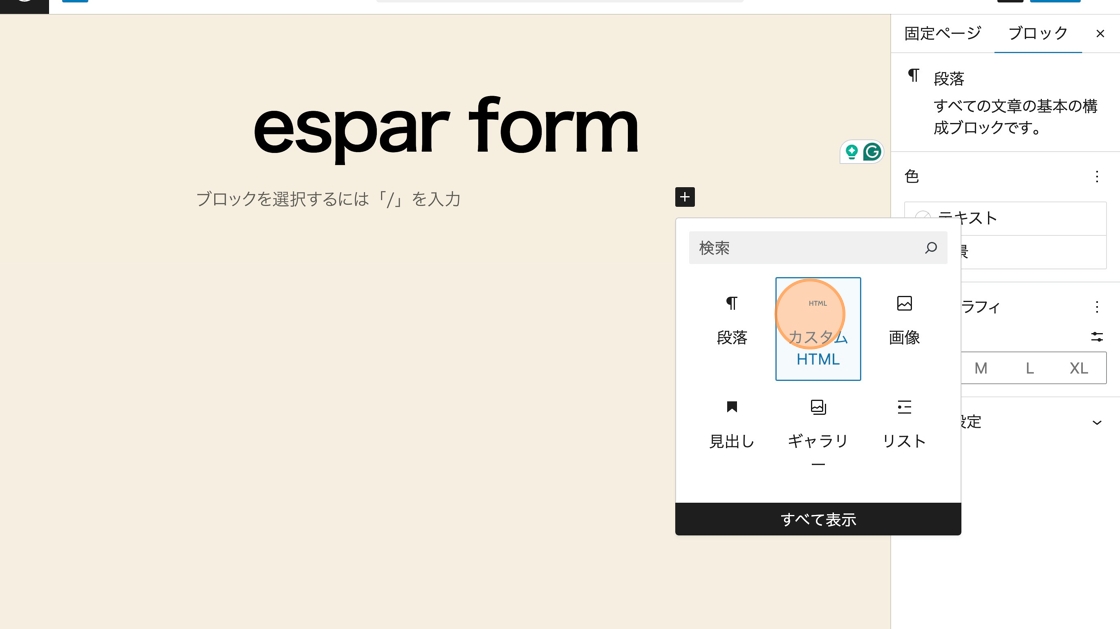
22. カスタム HTML を選択します
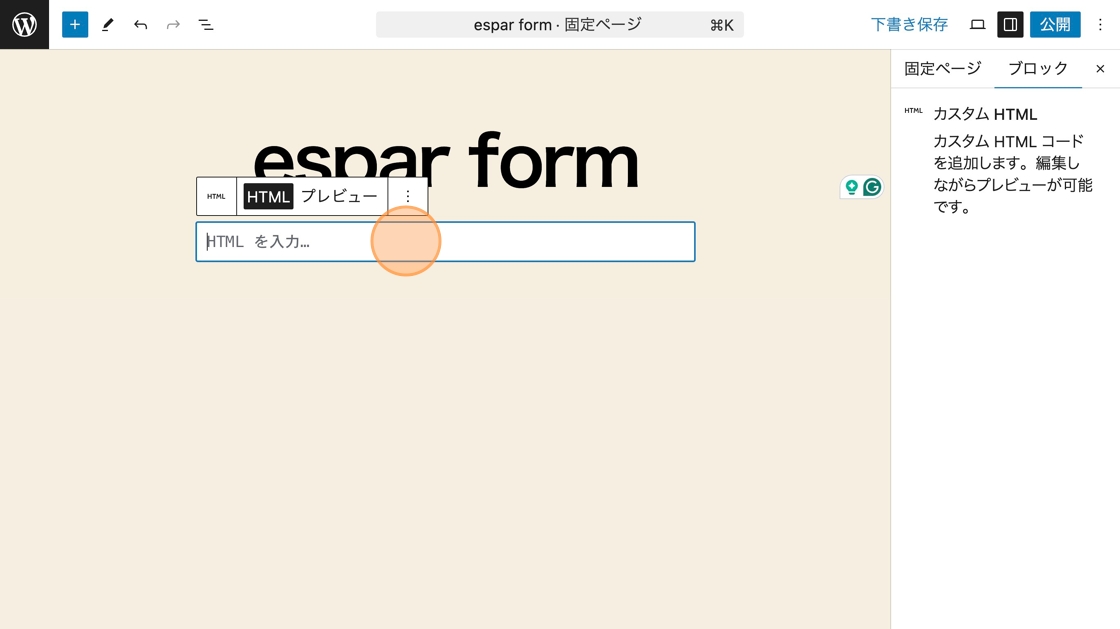
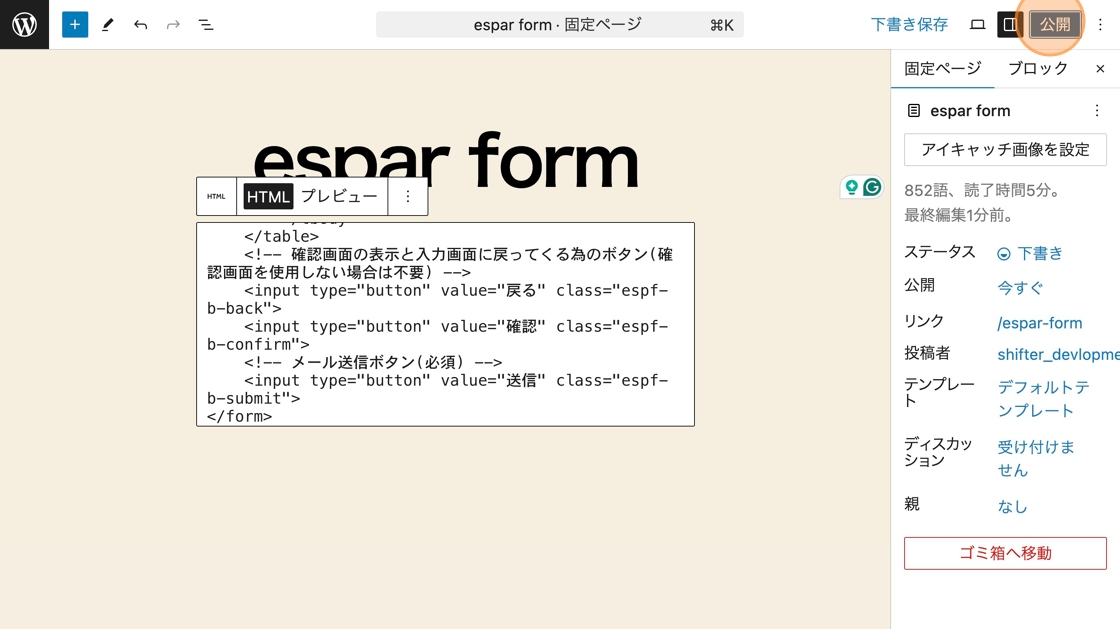
23. 入力欄にコピーした埋め込みコードとフォーム のコードを両方とも入力します
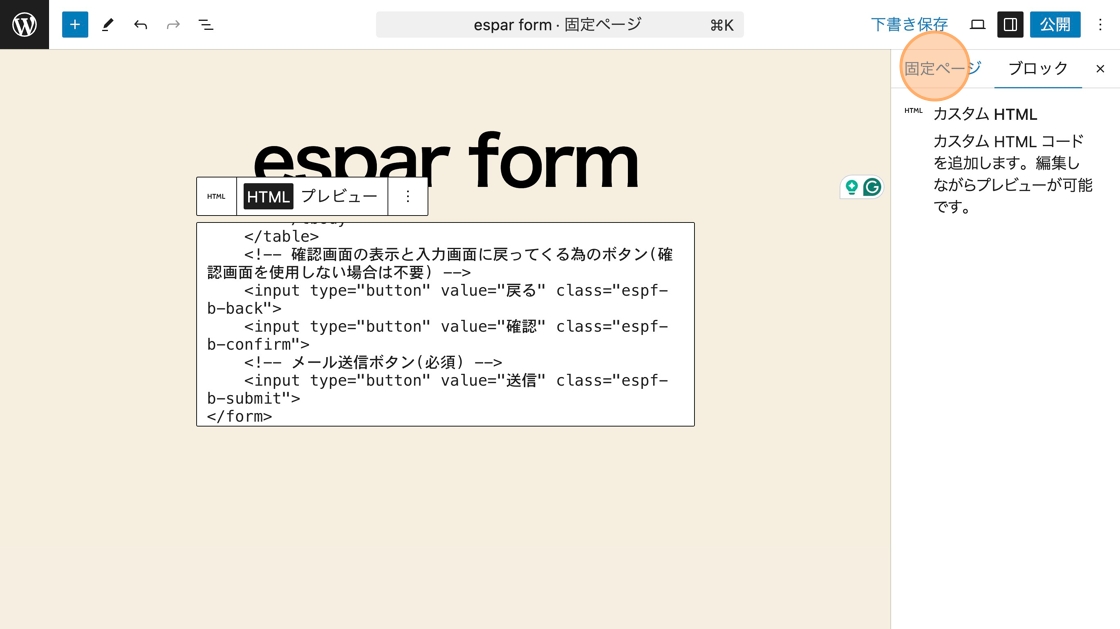
24. 入力が完了した状態
25. “公開”ボタンをクリックして公開をします
WordPress のテストメール
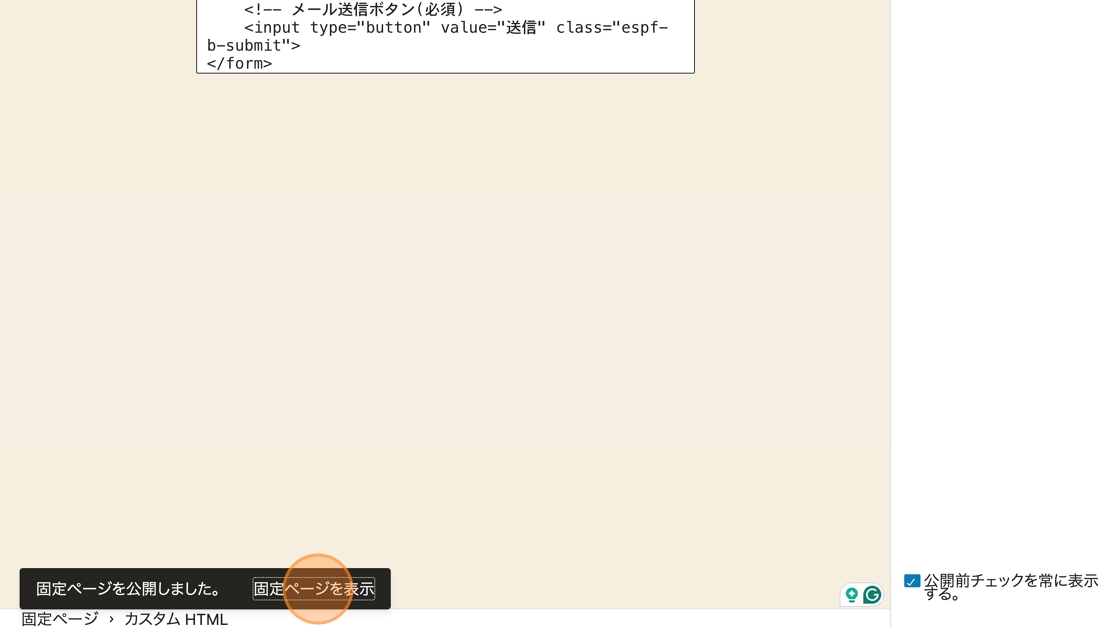
26. “固定ページを表示”をクリックしてフォームのページを表示させます
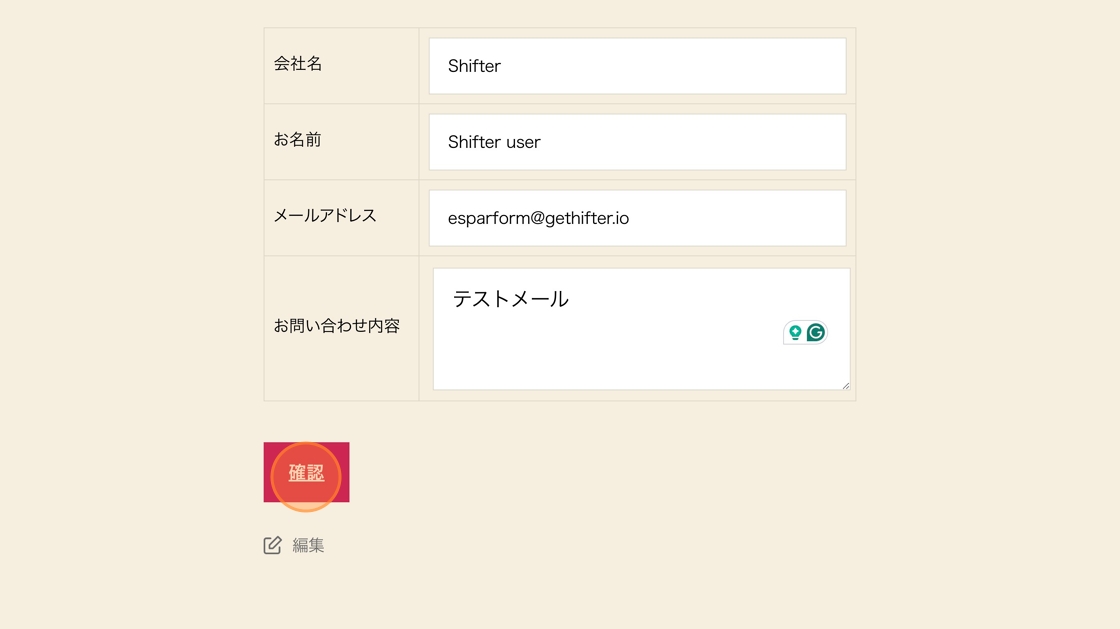
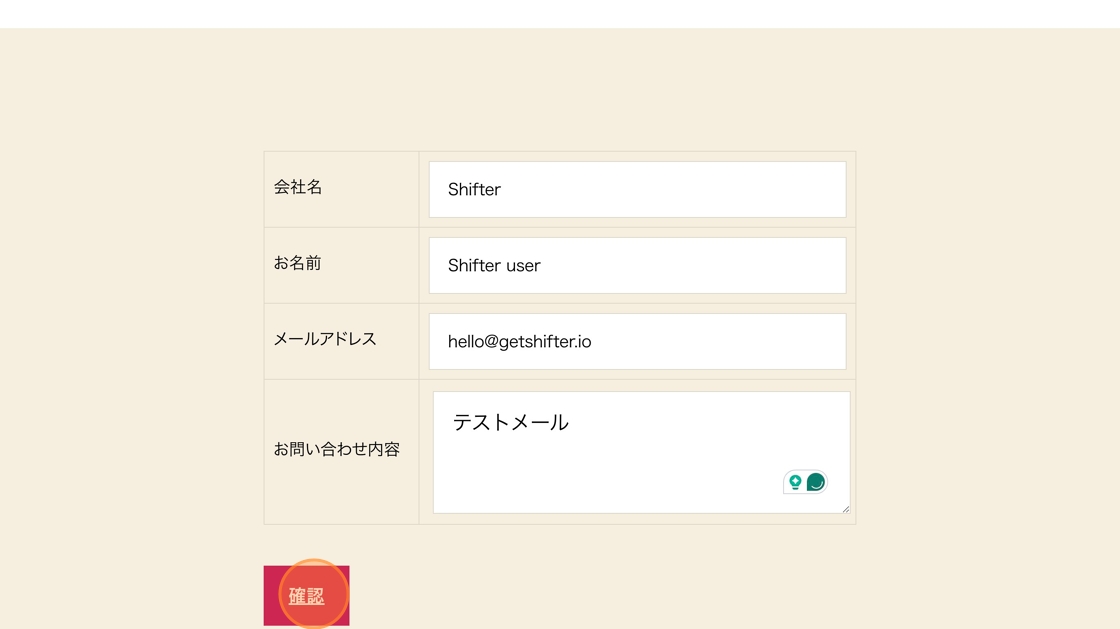
27. 各項目を入力して [確認] ボタンをクリックします
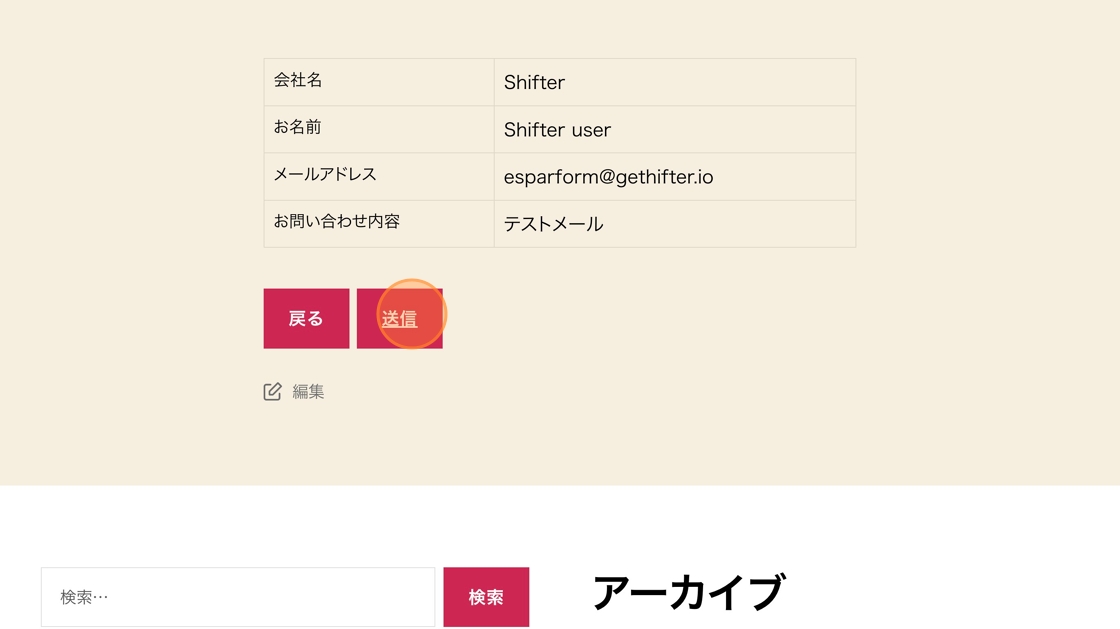
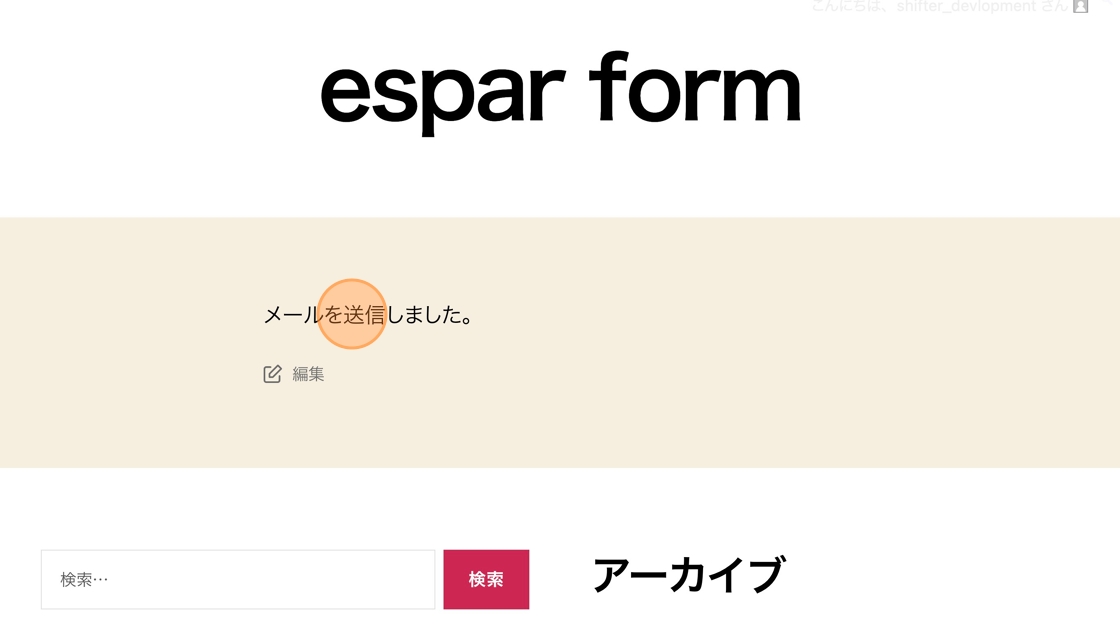
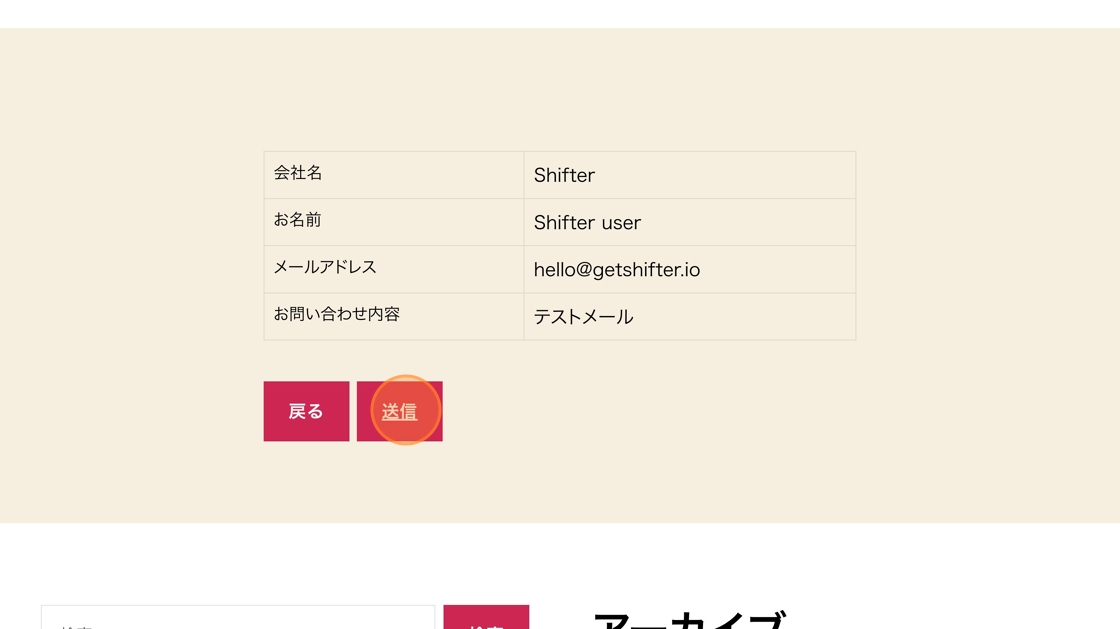
28. 送信をします
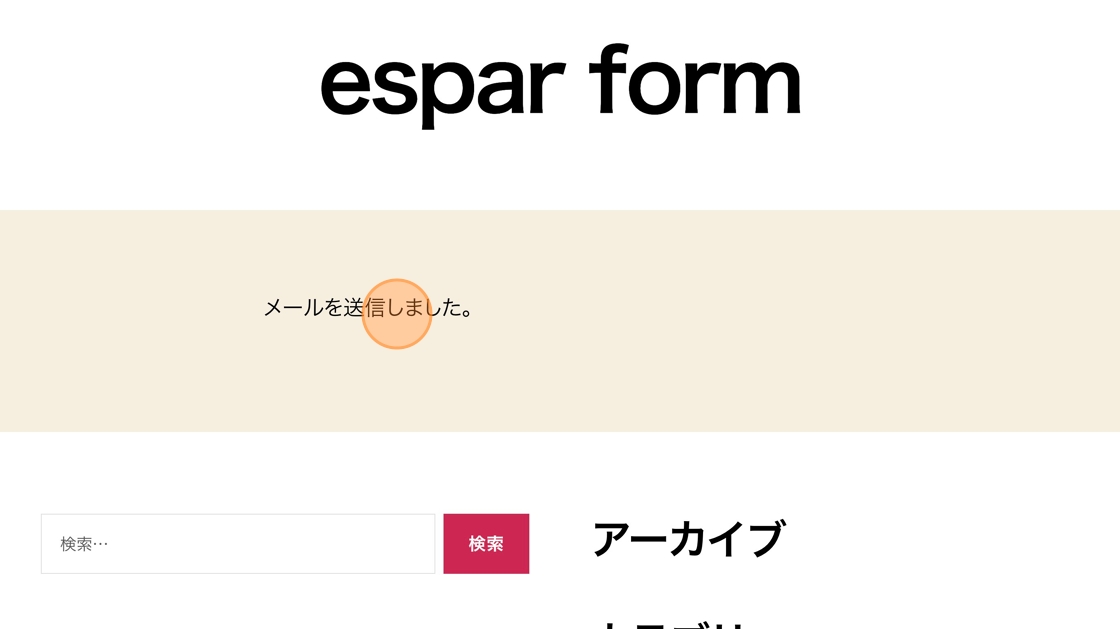
29. メールが送信されました。
送信履歴を確認する
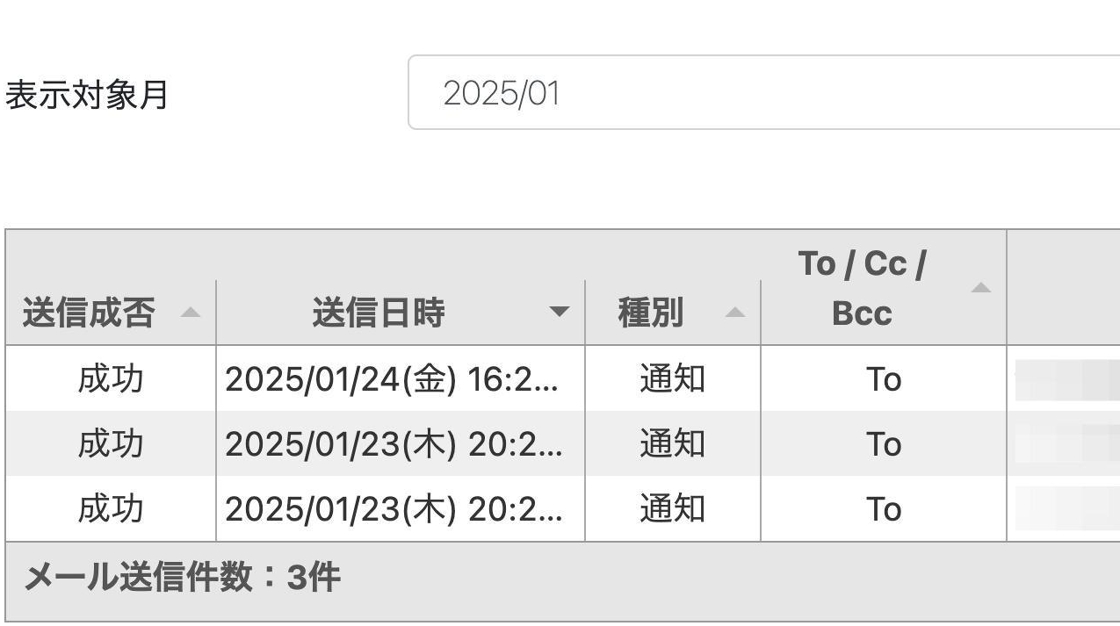
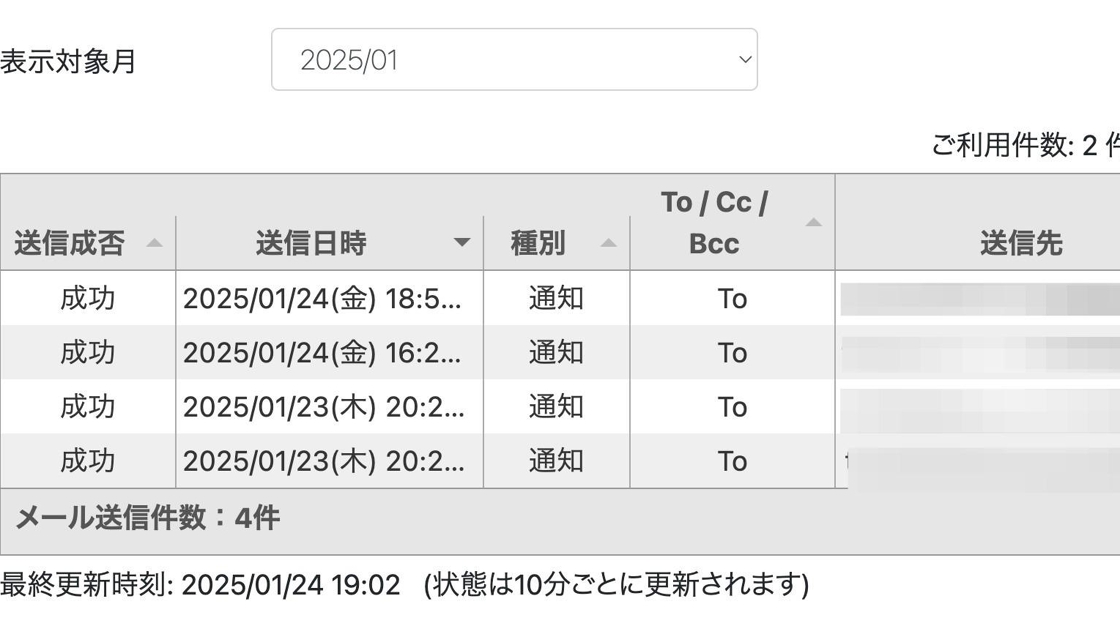
30. espar form のダッシュボードにログインをして “送信履歴”を確認します。
送信成否が “成功” であれば指定したメールアドレス宛に問い合わせのメールが届いているはずです。
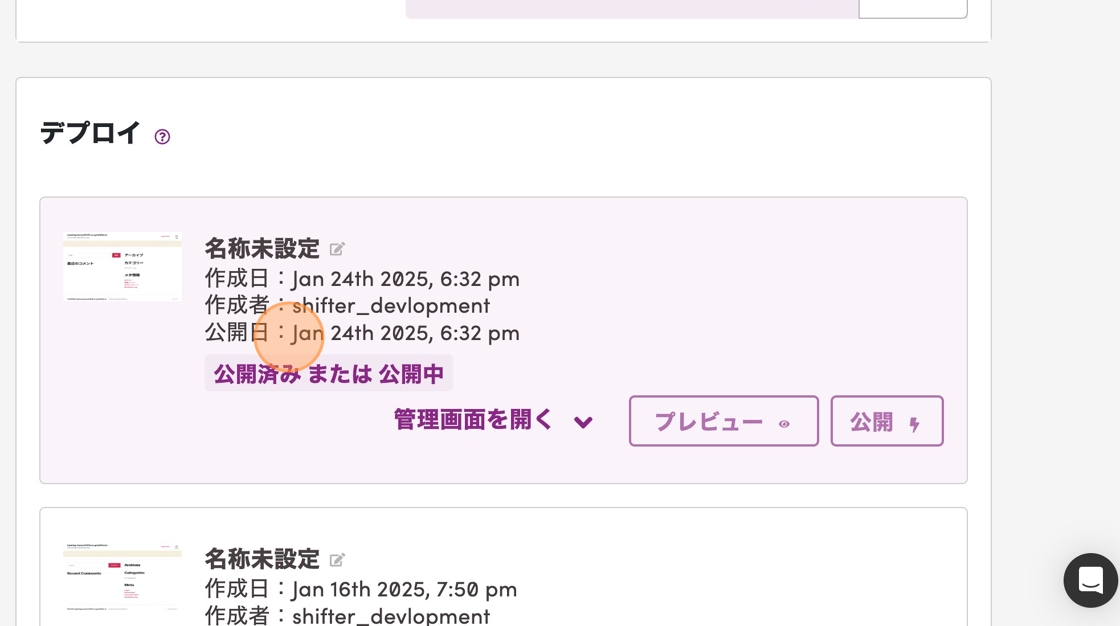
アーティファクトを作成し、デプロイをする
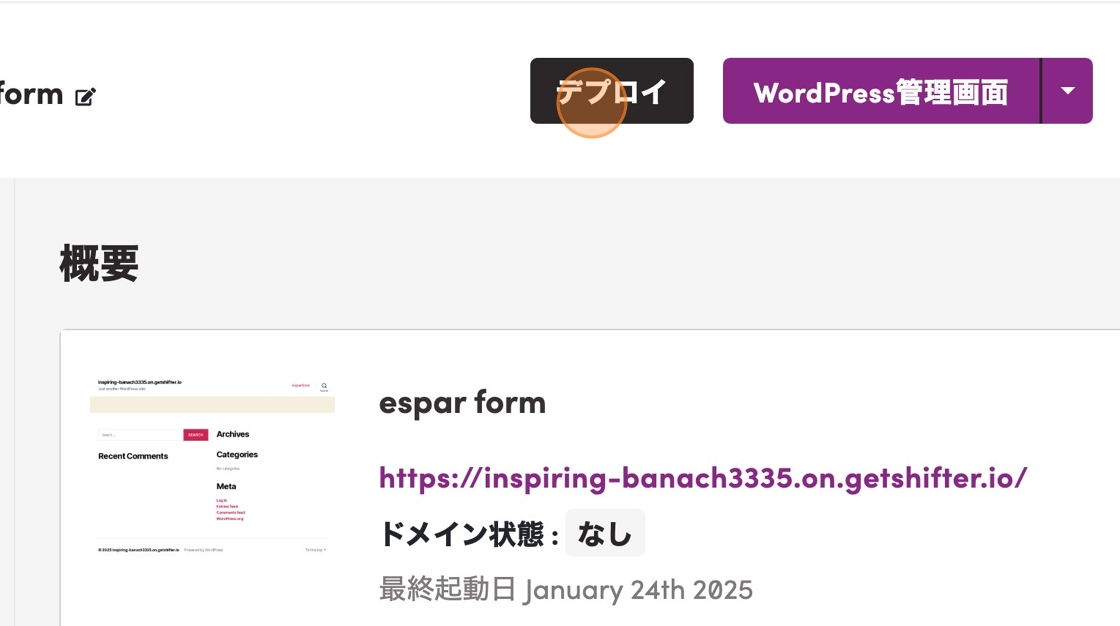
31. “デプロイ” をクリックします
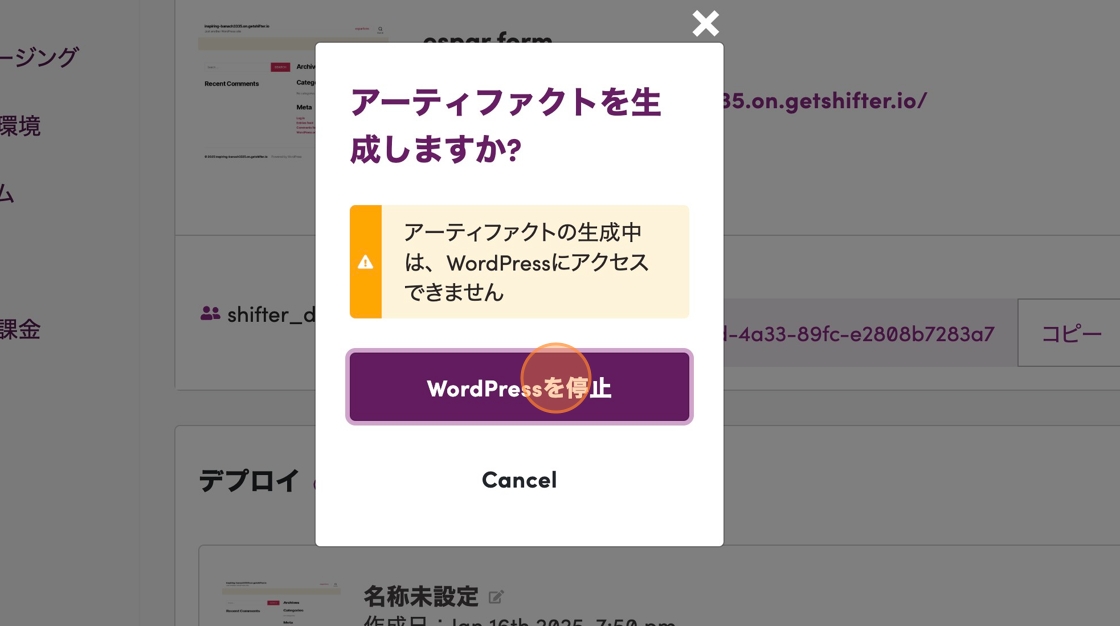
32. “WordPressを停止”をクリックします
33. デプロイが公開されました。
34. サイトのURLにアクセスをします
公開したサイトからテストメールを送信します
35. 各項目を入力して [確認] ボタンをクリックします
36. 送信ボタンをクリックして送信します
37. 送信が完了しました。
38. メールも正常に配送されました
39. espar form のセットアップと Shifter のサイトへの設定・テストメールの手順は以上です。