プラグインの追加
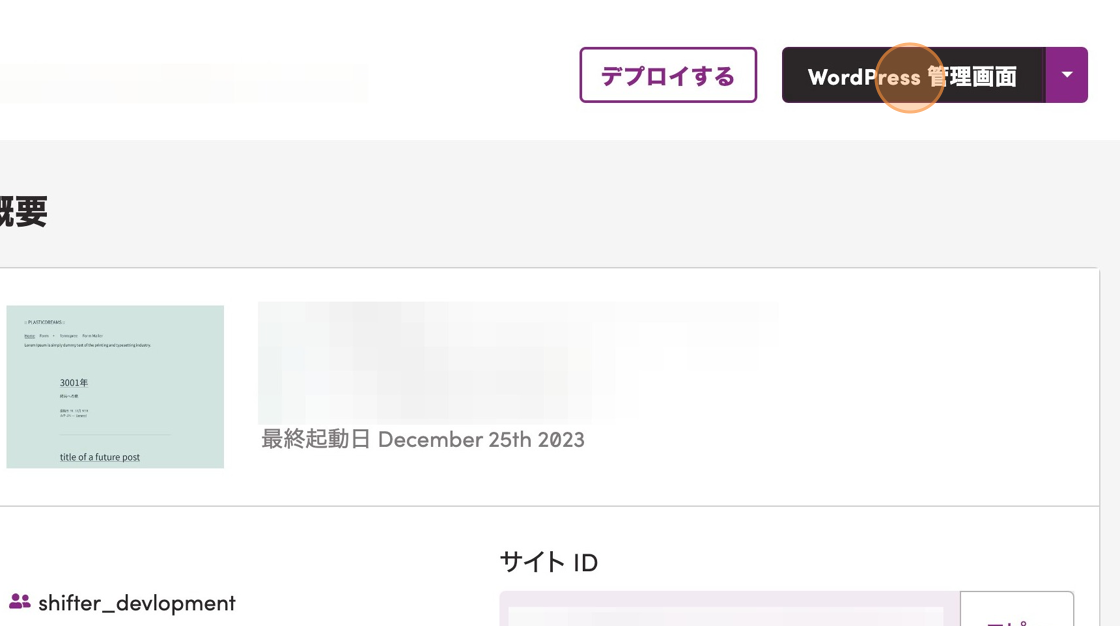
1. WordPress を起動して、WordPress のダッシュボードにアクセスする
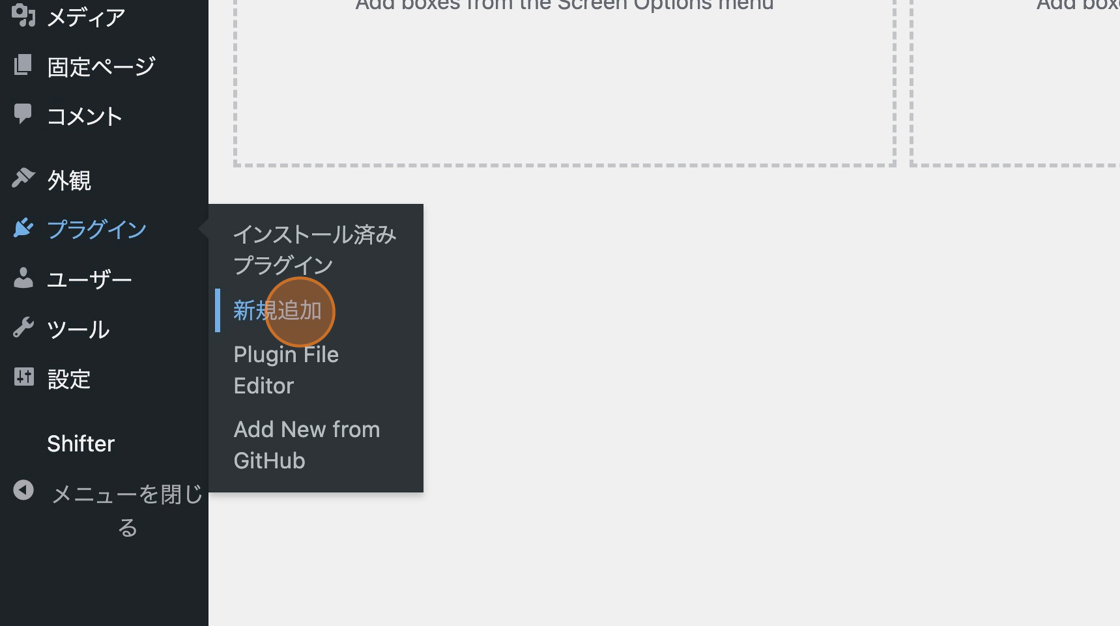
2. [プラグイン] → “新規追加” をクリックする
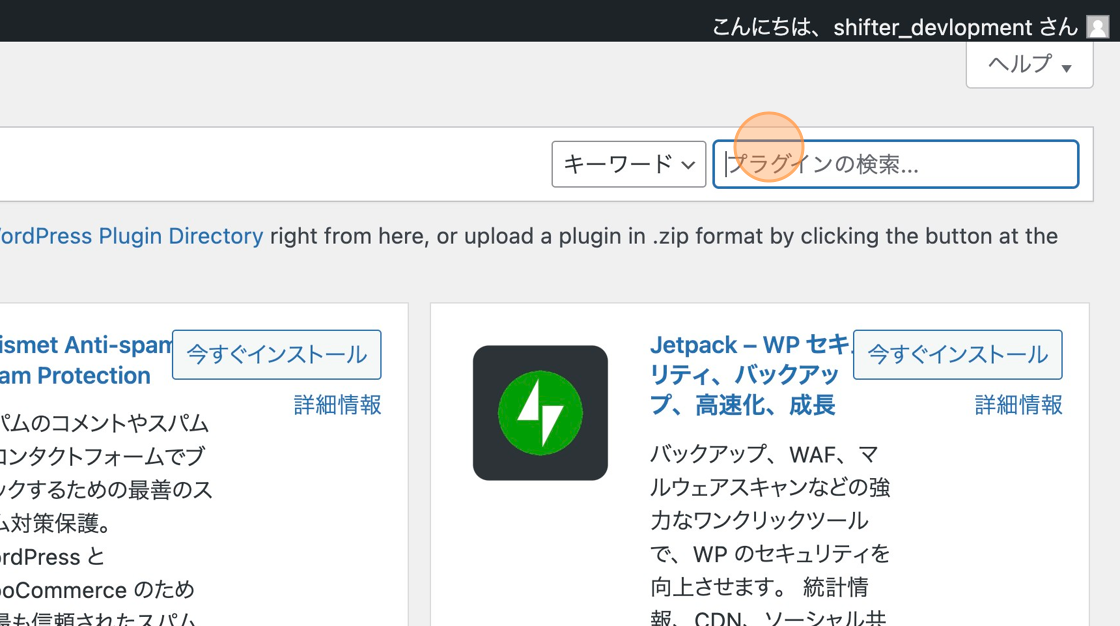
3. “プラグインの検索” に “WP Sitemaps Config” を入力する
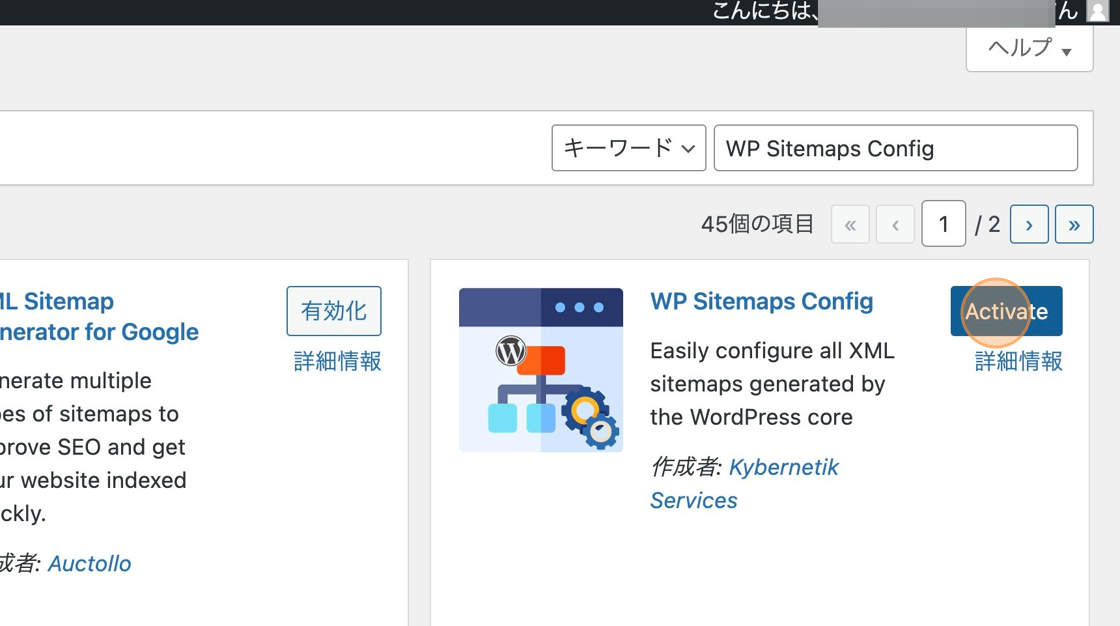
4. “今すぐインストール”をクリックする

5. 有効化する
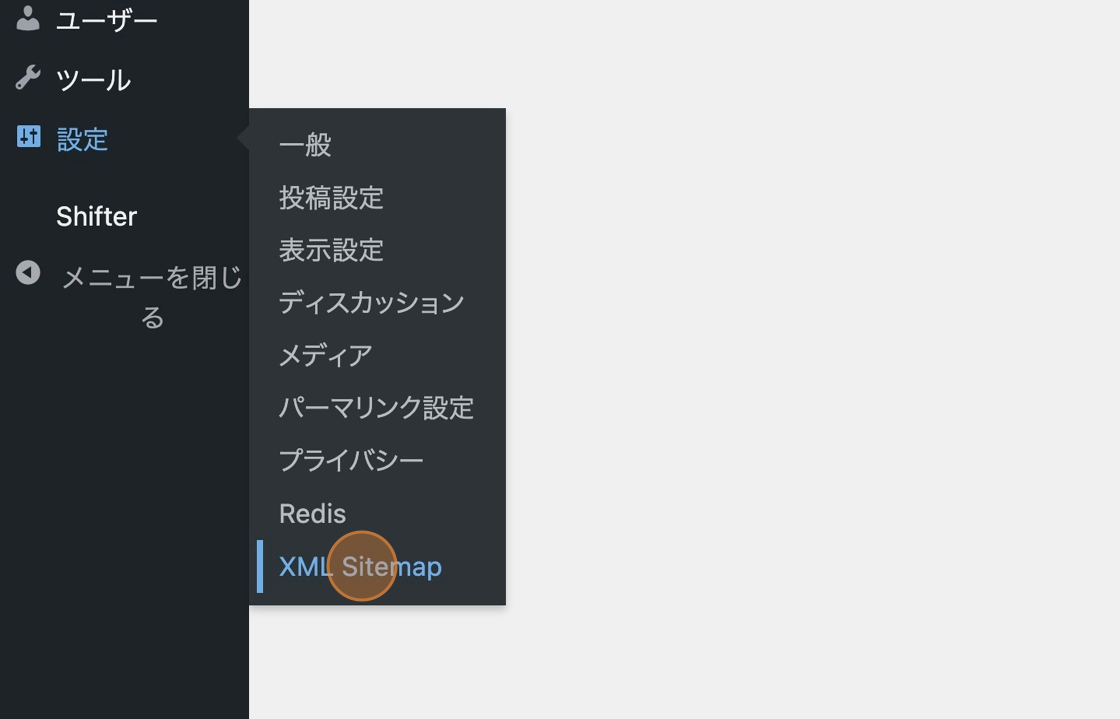
6. [設定] → [XML Sitemap] をクリックする
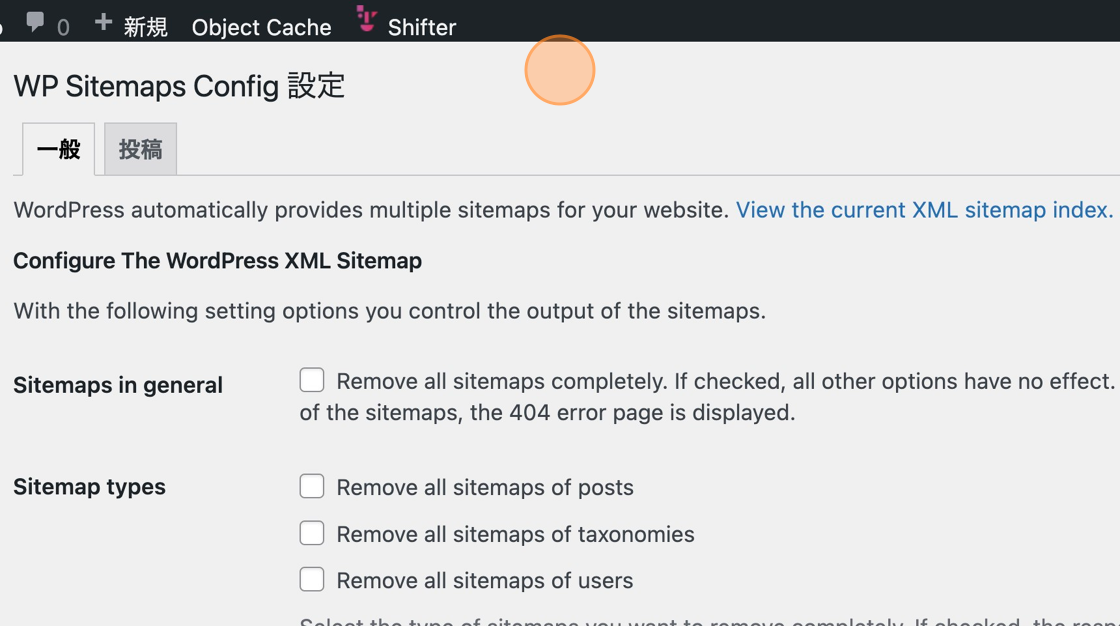
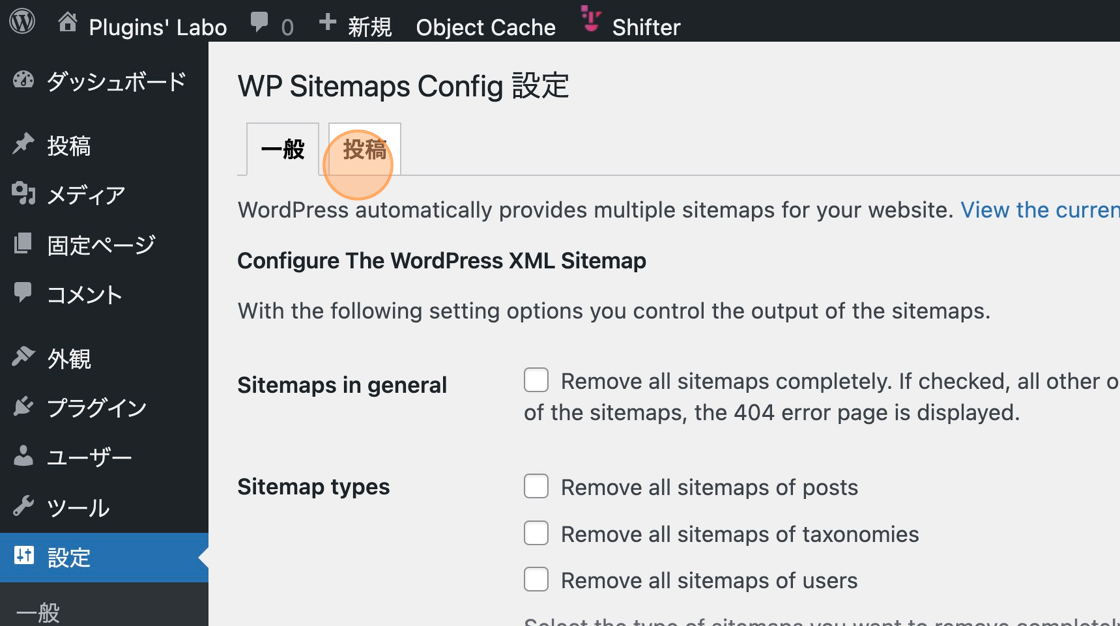
7. Click “WP Sitemaps Config 設定”
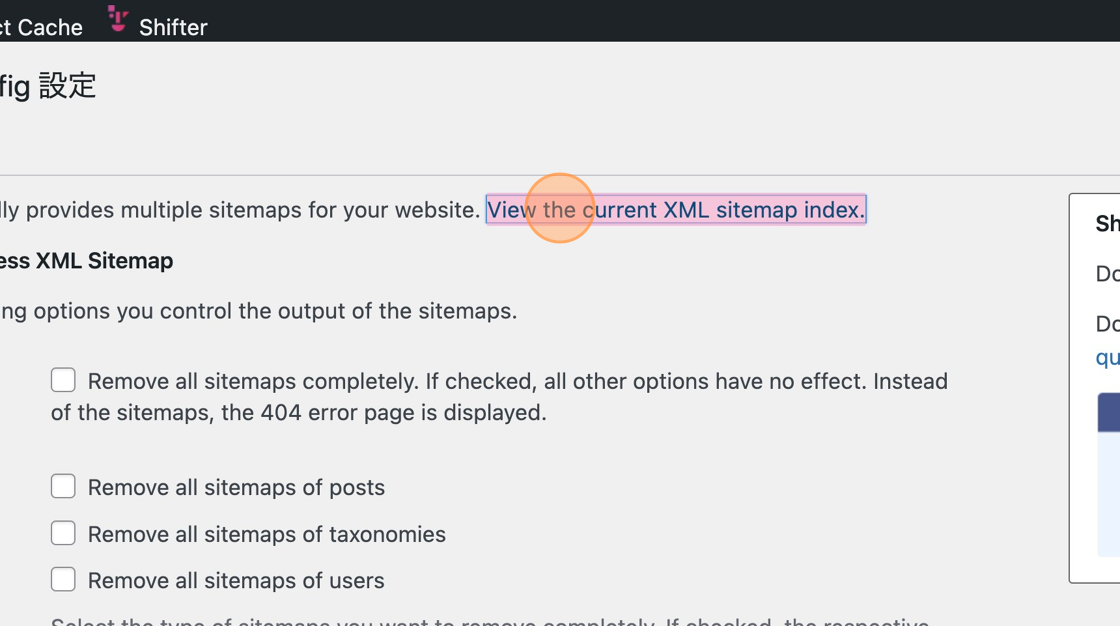
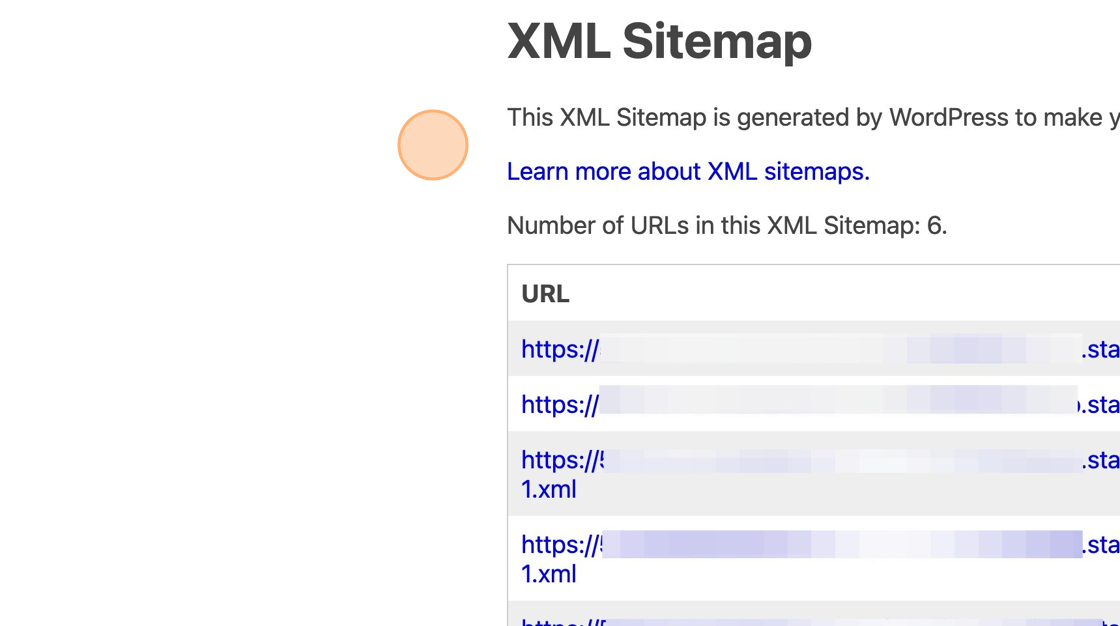
8. “View the current XML sitemap index.”をクリックして現在の XML Sitemap を確認する
9. robot.txt が開く
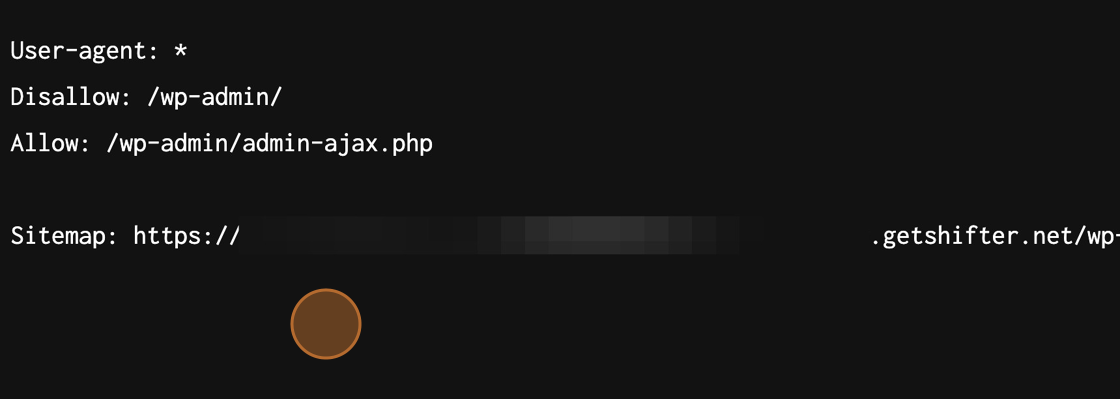
10. 現在の XML Sitemap を確認する
11. “一般”タブにて変更があれば設定をする

12. “投稿”タブにて変更があれば設定をする
デプロイを作成する
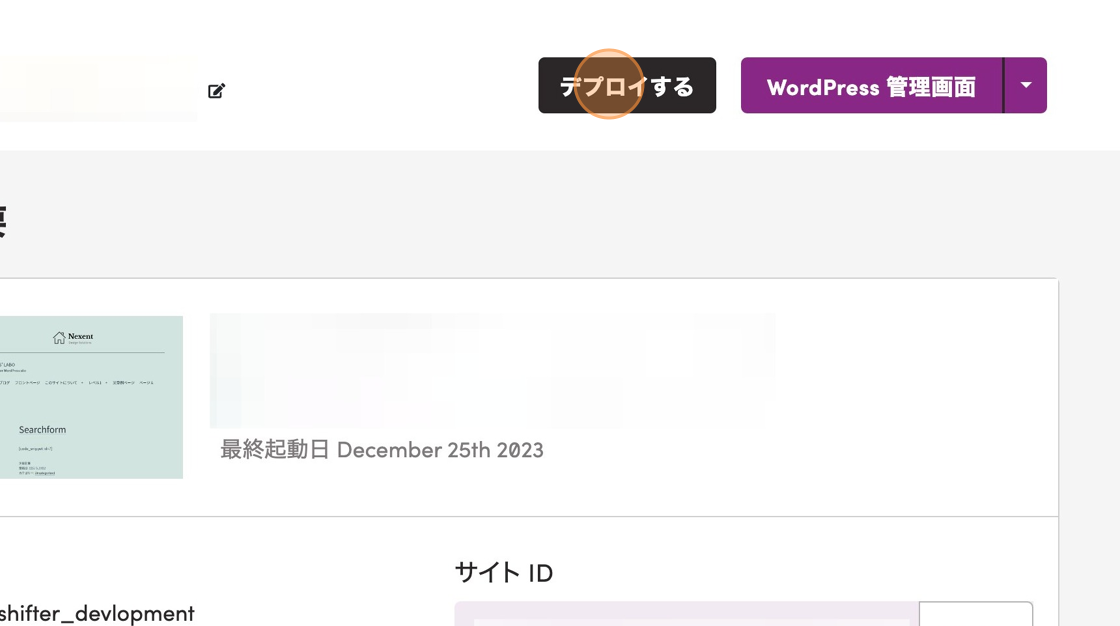
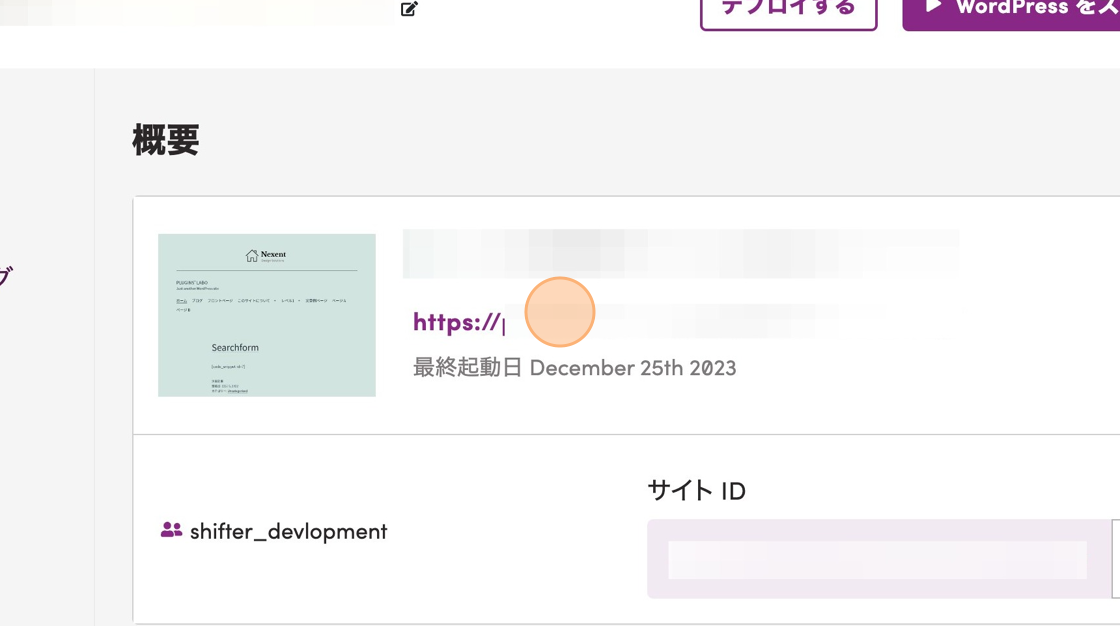
13. ダッシュボードに戻る
14. “デプロイする”をクリックする
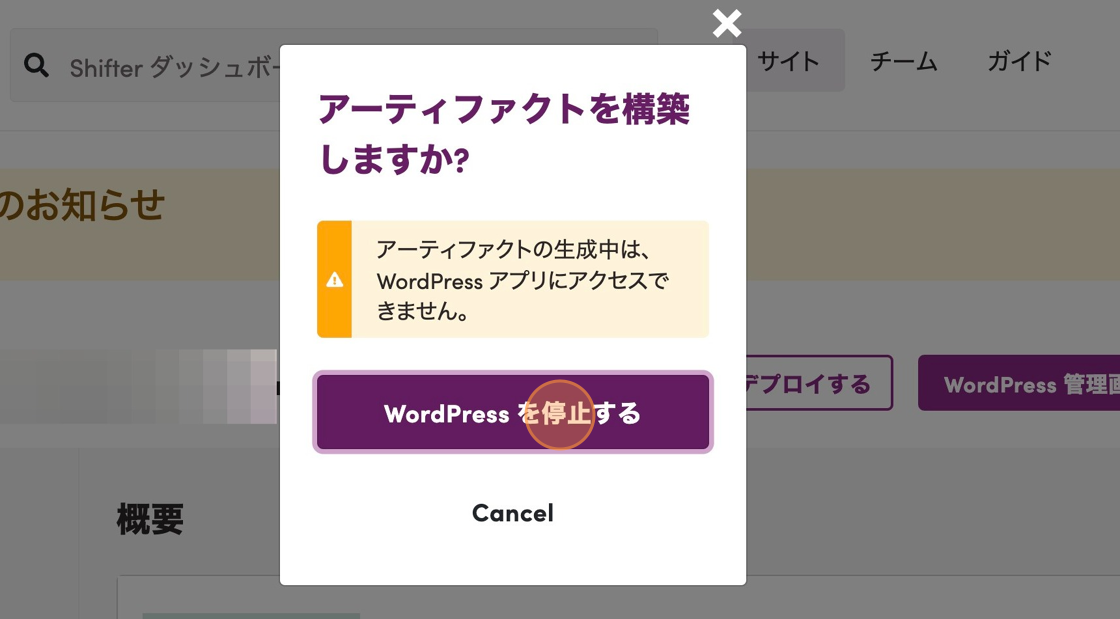
15. “WordPress を停止する”をクリックする
16. サイトのURLをクリックする
robots.txt の確認
17. robots.txt にアクセスをする
デフォルトでは https://ドメイン名.com/robots.txt に出力される
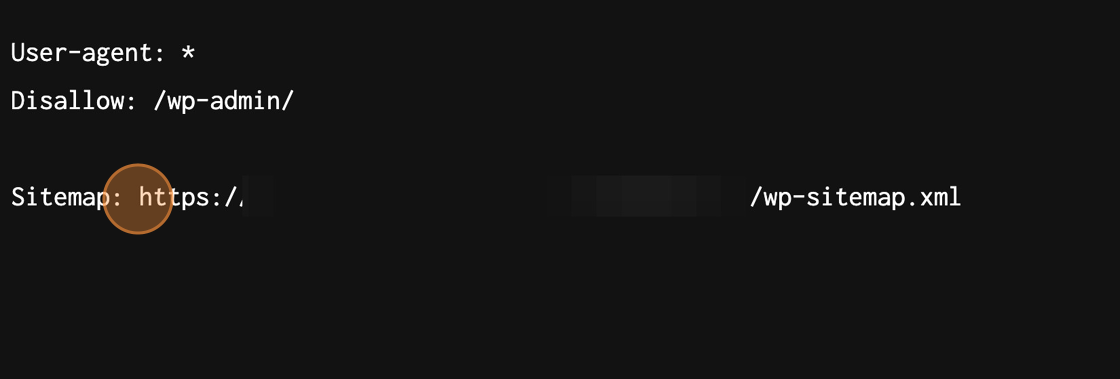
18. XML Sitemap にアクセスをする。
デフォルトでは https://ドメイン名.com/wp-sitemap.xml

注意: サブディレクトリ(例: ディレクトリ名が SUBDIR) の場合の各々のパス
robots.txt: : https://ドメイン名.com/robots.txt
XML Sitemaps:: https://ドメイン名.com/SUBDIR/sitemap.xml